Installation of the TBS
You'll find on this page all the detailed information with explanations, videos, tips... To assemble your TBS at its best. If you have any question, feel free to send an email at tbsskateco(at)gmail.com or a private message on Instagram.
Download the Installation guidelines
Before you begin
Here are some key points to consider before starting the assembly:
- It's not indicated in the Installation guidelines, the deck bindings must be mounted perpendicular to the axis of the board, like this:

- The lengths of the screws are important for proper assembly of the system. Standard screws are designed for use on 7-maple plies decks or equivalent thickness. For thinner or thicker boards, screws of different sizes are available here.
- The screws for the deck plates have adhesive to prevent loosening. Do not use these screws for the truck plates, which do not require this adhesive (except trucks which doesn't require nuts like the 2 front screws of the YOW trucks).
- These screws should not protrude from the board plates when tightened, otherwise the truck will not fit properly. It's important to leave some margin to be able to tighten any loosened screws (wood may hollow out, and then you can't go back).
- The surface under the truck must be flat for the system to function properly without any play. It may be necessary to file or grind the trucks before assembly.
- To use shock / riser pads,, you need to add an aluminum plate between the truck plate and the pad, to ensure the system works well over time.
- For trucks with very open spaces underneath (e.g., Ace trucks, Long Island Lean Genesis surfskate truck), aluminum plates are also recommended. Here, the plate is placed between the truck plate and the truck.
- The keychain is used to pull the locking mechanism if it is too difficult to do it by hand.
Complete installation in pictures
Discover a complete installation of the TBS on a cruiser.
Here is the equipment not provided that you will need:
- A skate tool (containing Allen key and socket wrench)
- A drill with a 5mm bit (if possible, 4.8mm if you have it, and preferably for metal, as they are better sharpened).
- 1 deck and at least 1 set of trucks.
Here are the detailed steps:
Step 1: Attach the template to your board
The template will allow you to drill the holes in the right place and vertically. Everything depends on it! So, it needs to be securely attached to the board. To do this, take between 2 and 4 of your usual skateboard screws (they should be longer than those in the TBS pack, so easier to use) and pass them through the underside of your board. If you take 2 screws, pass them through 2 opposite holes diagonally.
Place the template on top of the board and tighten it with the screws. As soon as you feel the screw starting to tighten, stop screwing! This template is made of plastic and can easily deform. If the template doesn't move and is well stuck to the board, you have screwed enough.
There are several possible template positions depending on the board you want to mount the system on. If you are on a board with only one possible wheelbase, take the holes at the ends. If you have several possible wheelbases, you will need to use other holes.
Step 2: Drill the new holes
To drill the 8 new holes, you need a drill (a screwdriver also works but drills less well) and a 5mm drill bit. If you have access to a drill press, even better, you will be sure to drill the holes vertically.
Drill the 4 new holes using the template andrepeat the steps for the other side of the board (attaching the template and drilling the holes).
Step 3: Grip your board (if not already done)
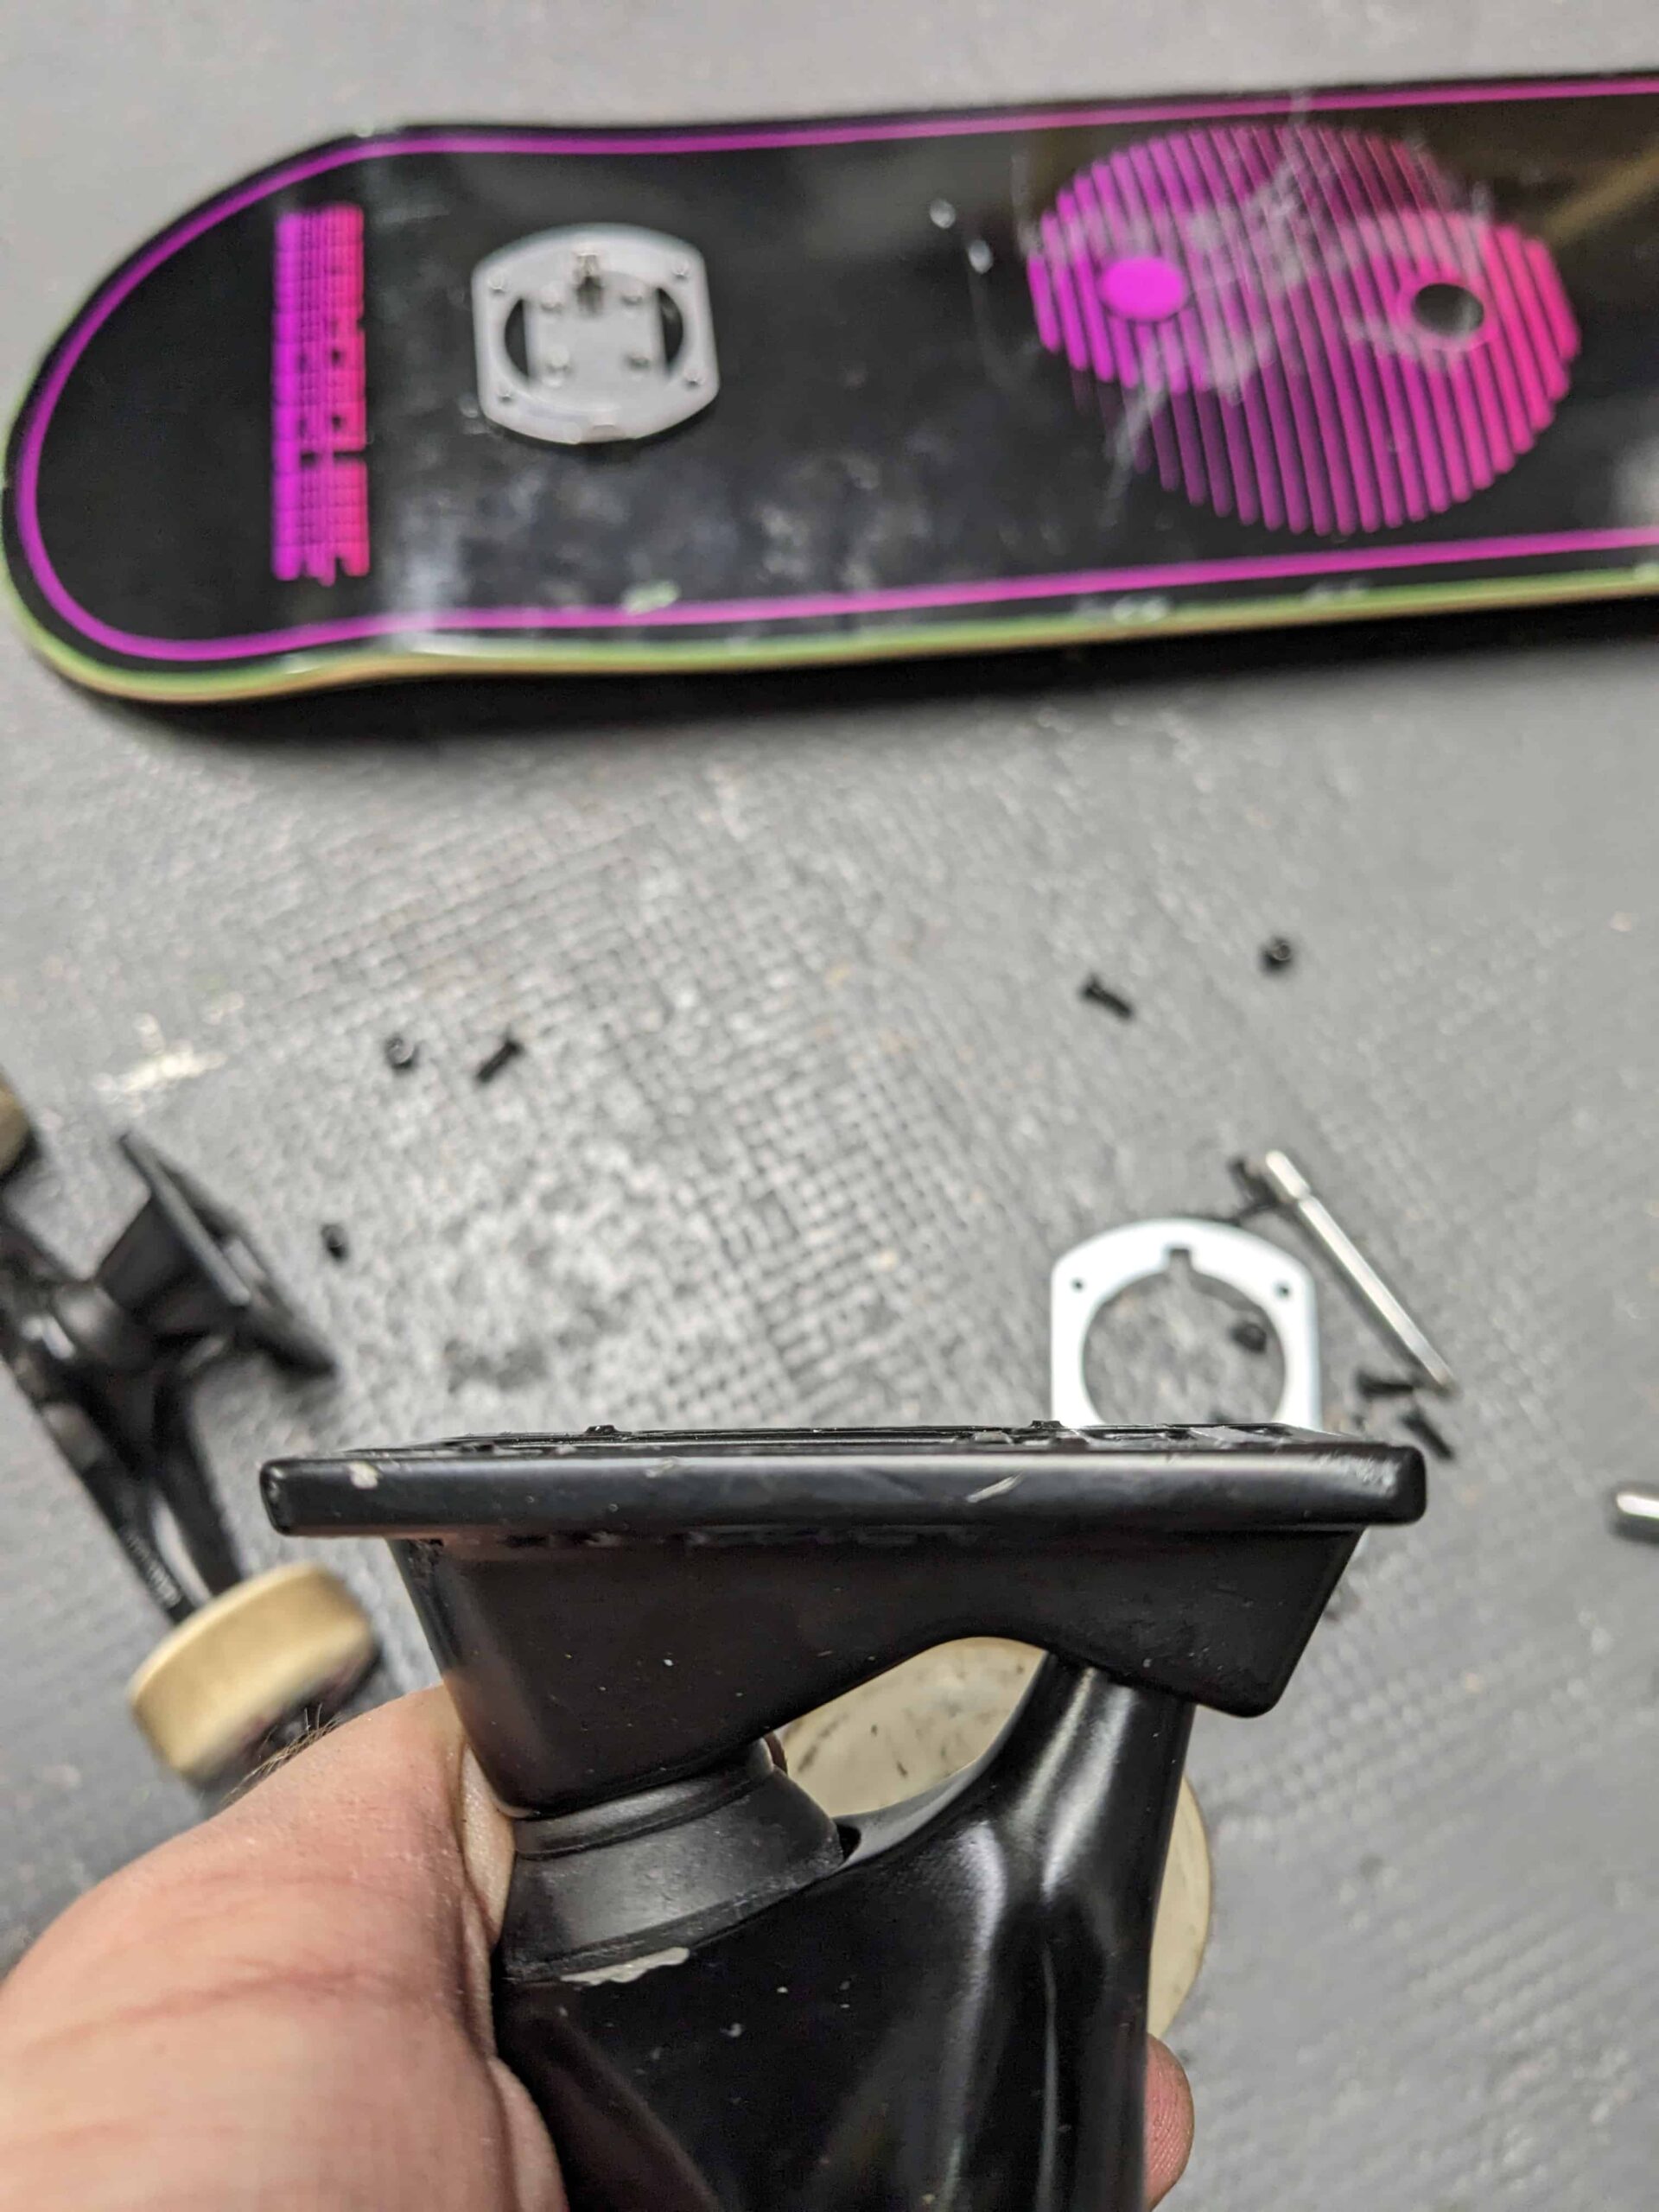
Step 4: Mount the deck bindings
For this step, take the black and blue screws! The blue one is a kind of plastic that prevents the screw from coming loose. Pass the screws through the new holes and flush with the board. Position the board fastener with the 4 "square" nuts facing the screws, then tighten the screws simultaneously with the Allen key.
There is a pattern underneath the board fasteners to prevent them from moving when tightened. By gradually tightening the screws, the fasteners will sink into the wood, which is normal. It's better not to tighten too hard at the beginning to leave room for adjustment. You could tighten them later. Once the screws protrude, you will need to file them down or change the board because it will cause problems when mounting the truck on the fastener.
So here are my advices:
1. Tighten the deck plates securely, stopping when it starts to tighten well.
2. Proceed with Step 5
3. Go skate or ride around quietly with your skate tool (during 5 minutes or more, until the plates loosen slightly) so that the plates sink a bit further into the board.
4. Tighten the deck plates again with the Allen key; as in step 1, apply force but not necessarily to the maximum!
5. Repeat steps 3 and 4 until the deck plates are well embedded into the board.
Step 5: Mounting the truck plates
The last step where you will need the tool (Allen key + socket wrench). Here, the difficulty is knowing which way to mount them on the trucks. First of all, the side with the cones around the holes should not be underneath the truck because it's through the cones that the screws go. Then, the easiest way is to manually position the truck plates on the deck bindings to know which way to mount your trucks.
We pass the black screws through the truck fasteners and then through the holes in the truck, and we tighten them with the lock nuts (black nuts). Here, you can tighten firmly!
If you encounter any difficulty, send a message on Instagram @tbs.skate.co or via email at tbsskateco@gmail.com
Sanding your trucks
The underside of your trucks will come into contact with the deck plates, so it's important that the surfaces are clean! Some trucks have small protruding parts (such as Tensor or Oxelo trucks). It's necessary to remove any excess material for the system to work properly.
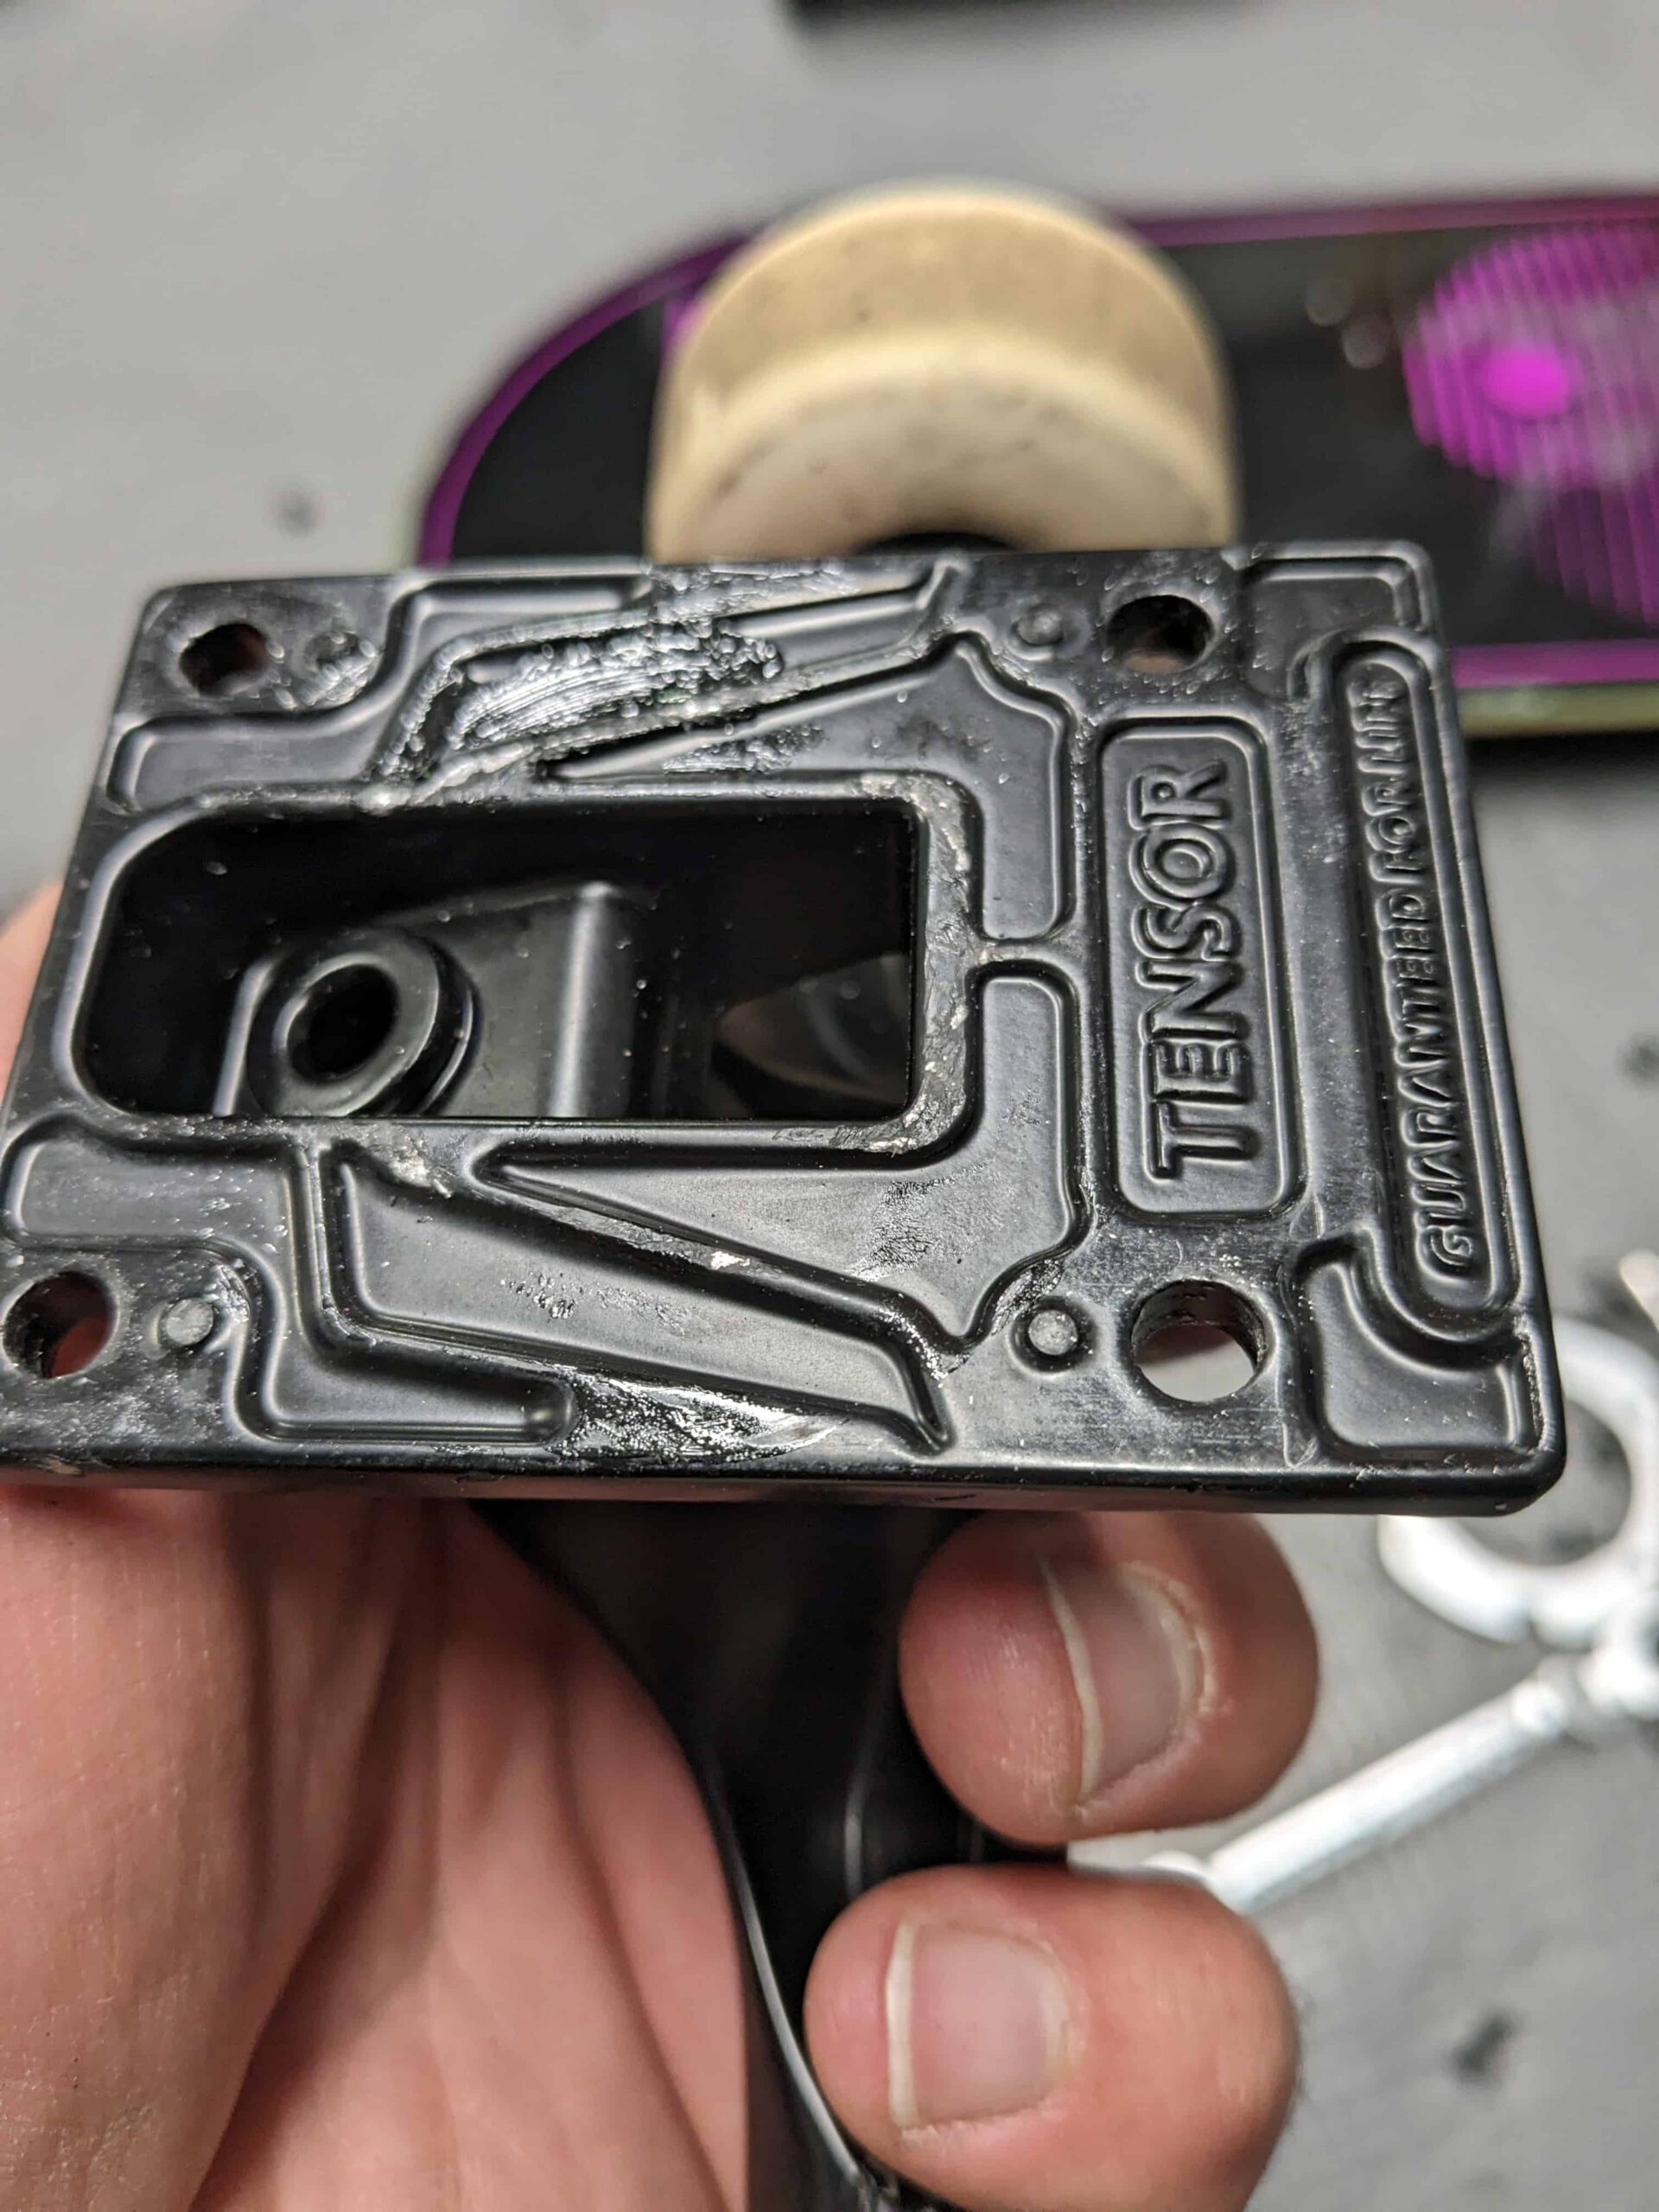
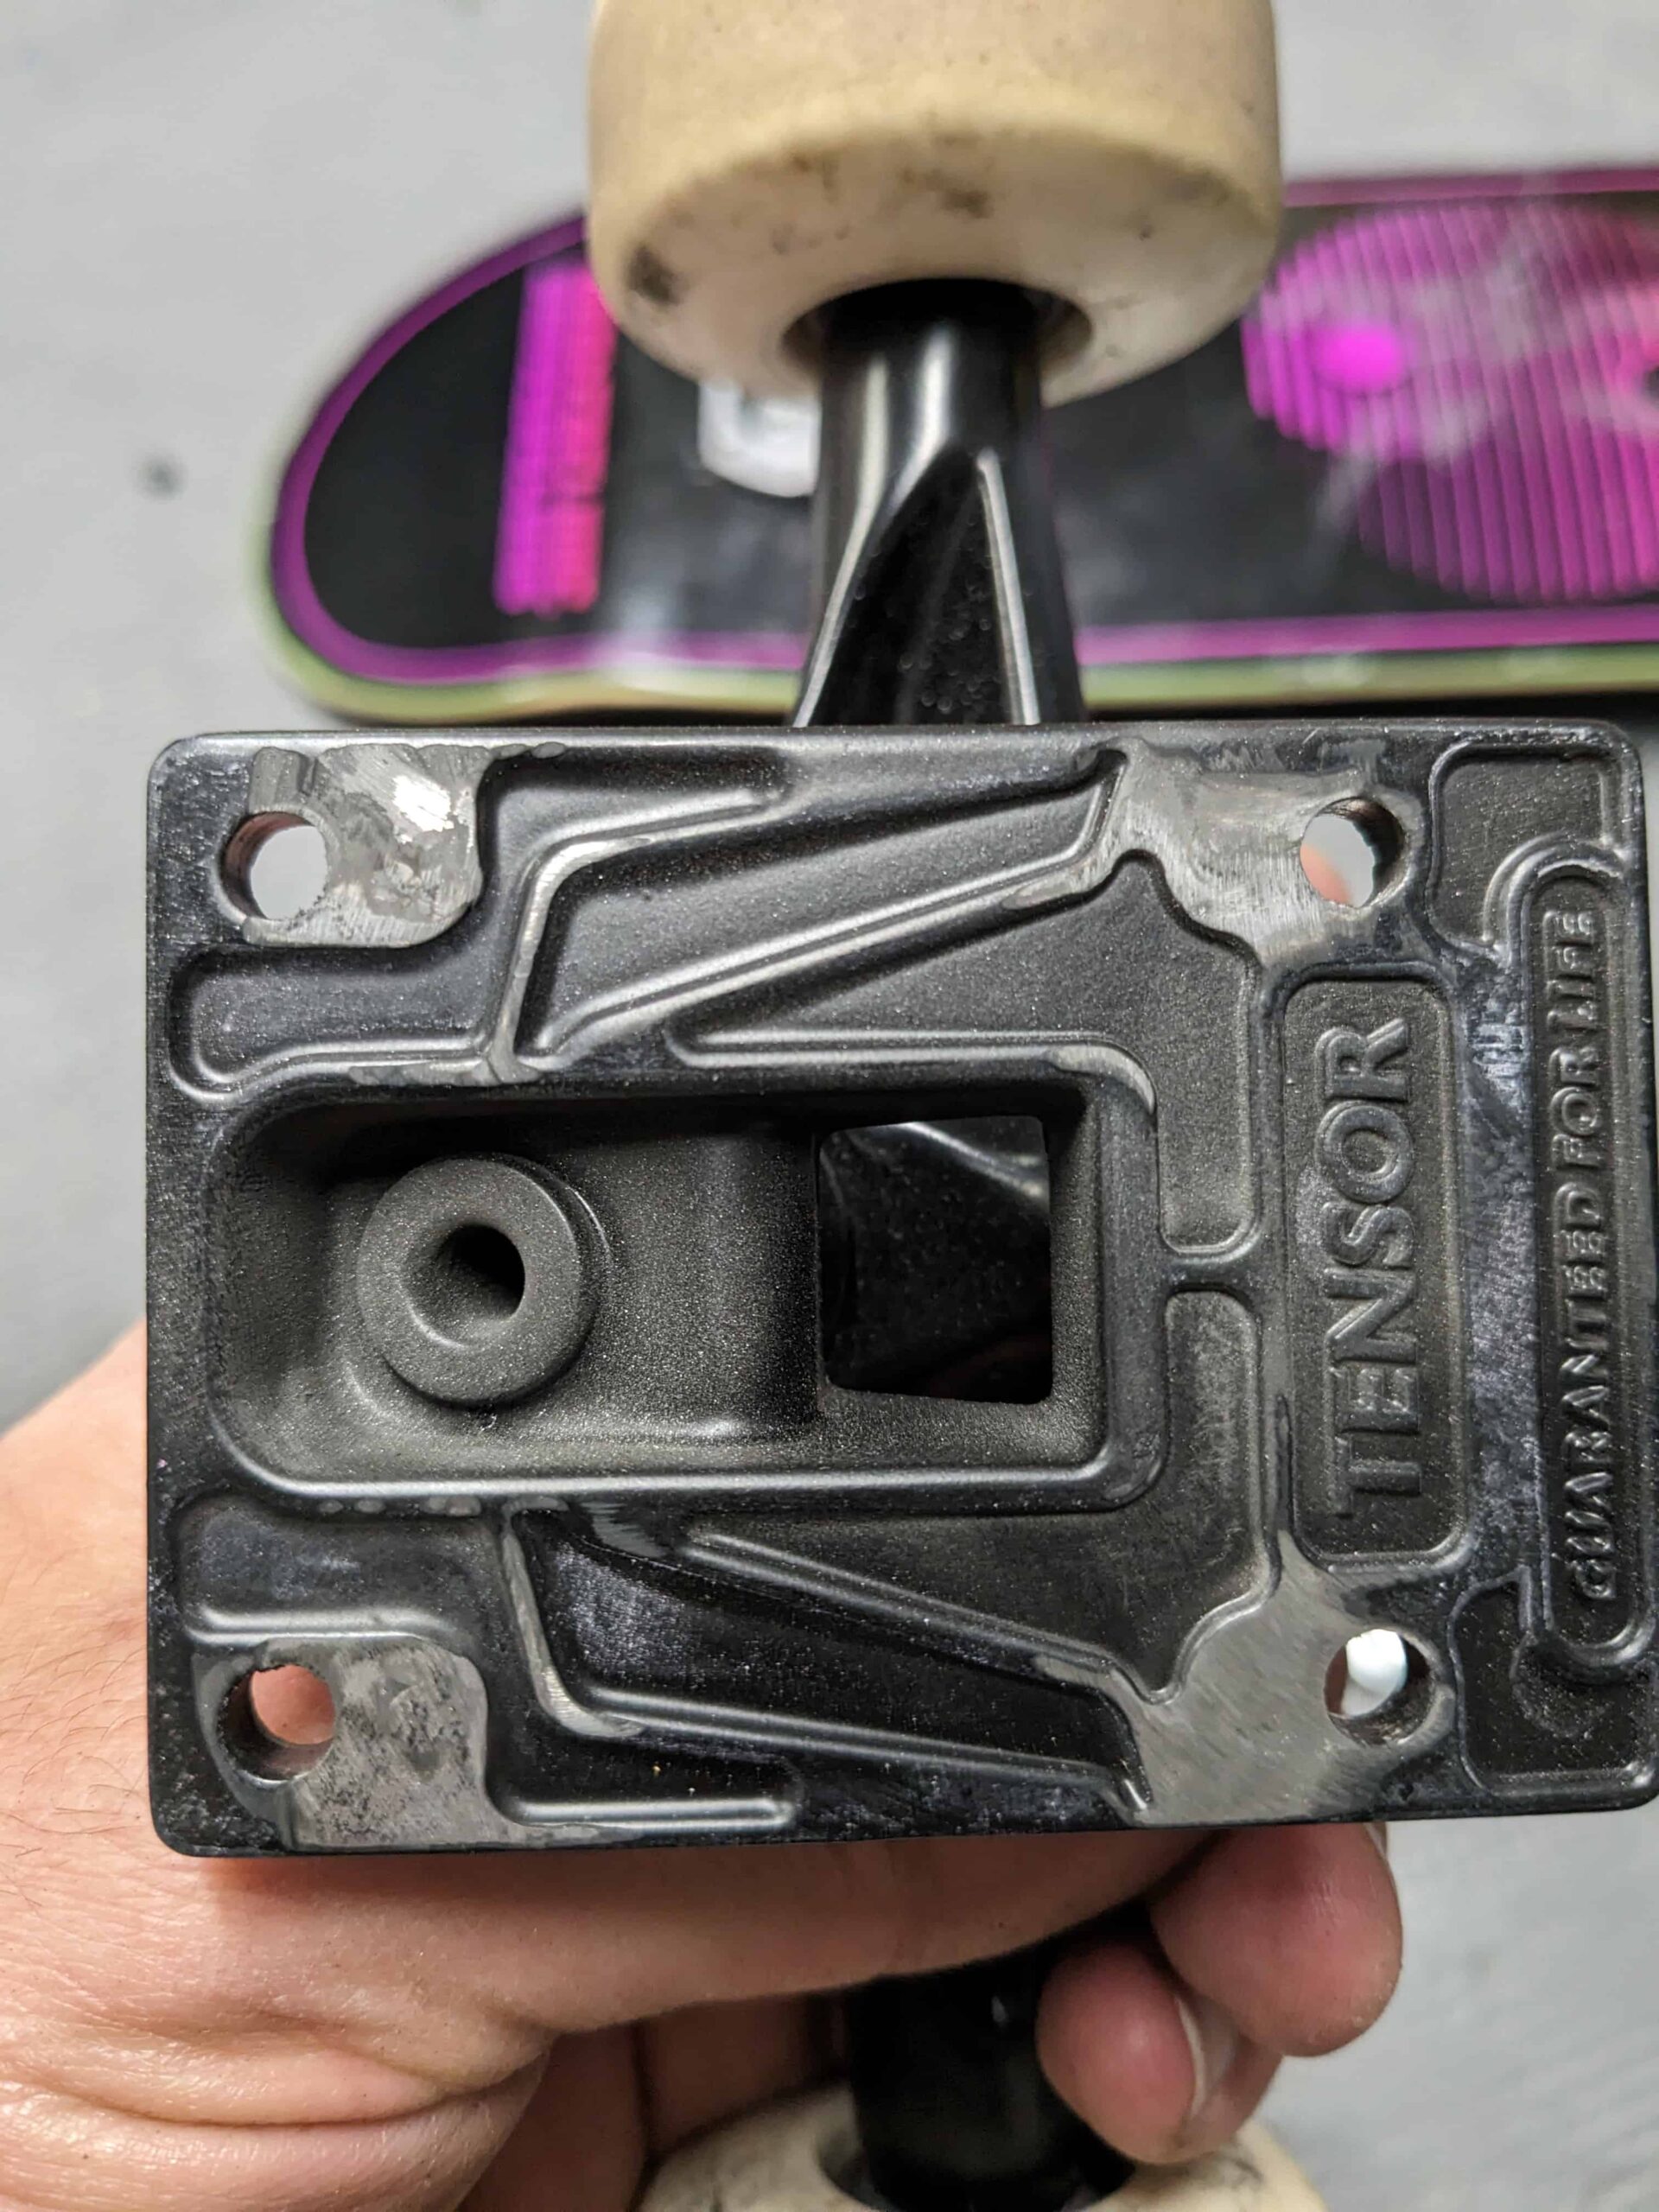
For this type of hollow truck, there may be play over time because the contact surface is small. Thin aluminum plates are available to eliminate this play.
For all heavily used trucks due to skateboarding, sanding is also highly recommended, even necessary. For example, noseslides deform the end of the truck and push the material upward, causing the truck mount to rise and introduce play. You should use sandpaper or a file to flatten the surface.

How to mount the pad plates?
The shock pad plates are thin aluminium plates that allow the system to function properly with traditional shoch pads (made of rubber, plastic, wood...) There are available here. Since the system operates with the underside of the truck, it is important that this surface under the truck be made of a solid material and not flexible like a pad. The pad plate is placed between the truck baseplate and the pad as shown below:

What is the keychain for?
After a good skate session, sometimes the system gets stuck (the locking mechanism) and is difficult to pull out. This is where the keychain will be very useful! Underneath the keychain, you'll see a recess with the shape of the locking mechanism. By mounting it onto the mechanism, you'll have a better grip, making it easier to pull out without hurting your fingers.
If the problem persists, loosen the nuts holding your truck to the truck plate; that should help.

How to mount and dismount your trucks?
Mounting a truck with the TBS can be done with the board flat (placed on a bench or on the knees, for example) or with the board vertically, placed on the ground. It is done in 4 steps:
- Stear the locking mechanism on the deck binding
- Position your truck on the deck binding at 90° compared to how usually it is when you skate.
- Turn your truck 90° and release the locking mechanism
- In case: check that the locking mechanism has entered the truck plate.
To dismount, that's almost the same steps but in reverse order:
- Stear the locking mechanism on the deck binding
- Turn the truck 90°